| 知乎专栏 | 多维度架构 |
目录
开始学习以太坊时阅读大量文章常常会提到 Mist 一头雾水,后来才知道 Mist 就是 Ethereum Wallet。 Ethereum Wallet 是软件名字, Mist 是项目名字。
Ethereum Wallet 可以在以太坊首页下载,如果你需要安装历史版本可以访问 https://github.com/ethereum/mist/releases
参数:
neo@MacBook-Pro ~ %  "/Applications/Ethereum Wallet.app/Contents/MacOS/Ethereum Wallet" --help
Usage: /Applications/Ethereum Wallet.app/Contents/MacOS/Ethereum Wallet --help
[Mist options] [Node options]

Mist options:
  --mode, -m              App UI mode: wallet, mist.[string] [default: "wallet"]
  --node                  Node to use: geth, eth        [string] [default: null]
  --network               Network to connect to: main, test
                                                        [string] [default: null]
  --rpc                   Path to node IPC socket file OR HTTP RPC hostport (if
                          IPC socket file then --node-ipcpath will be set with
                          this value).                                  [string]
  --swarmurl              URL serving the Swarm HTTP API. If null, Mist will
                          open a local node.
                                     [string] [default: "http://localhost:8500"]
  --gethpath              Path to Geth executable to use instead of default.
                                                                        [string]
  --ethpath               Path to Eth executable to use instead of default.
                                                                        [string]
  --ignore-gpu-blacklist  Ignores GPU blacklist (needed for some Linux
                          installations).                              [boolean]
  --reset-tabs            Reset Mist tabs to their default settings.   [boolean]
  --logfile               Logs will be written to this file in addition to the
                          console.                                      [string]
  --loglevel              Minimum logging threshold: info, debug, error, trace
                          (shows all logs, including possible passwords over
                          IPC!).                      [string] [default: "info"]
  --syncmode              Geth synchronization mode: [fast|light|full]  [string]
  --version, -v           Display Mist version.                        [boolean]
  --skiptimesynccheck     Disable checks for the presence of automatic time sync
                          on your OS.                                  [boolean]

Node options:
  -  To pass options to the underlying node (e.g. Geth) use the --node- prefix,
     e.g. --node-datadir

Options:
  -h, --help  Show help                                                [boolean]
 |
Ethereum Wallet 工作原理非常简单,启动 Ethereum Wallet 是,Ethereum Wallet 会首先启动 geth,然后在启动 Ethereum Wallet 应用程序。
geth 负责与以太坊网络连接,包括主网,Ropsten和Rinkeby两个测试网,Solo 本地开发模式。geth
例如主网的启动目录是 /Users/neo/Library/Ethereum/geth.ipc 参数是:
/Users/neo/Library/Application Support/Ethereum Wallet/binaries/Geth/unpacked/geth --syncmode light --cache 1024
/Users/neo/Library/Application Support/Ethereum Wallet/binaries/Geth/unpacked/geth --testnet --syncmode light --cache 1024 --ipcpath /Users/neo/Library/Ethereum/geth.ipc
首先启动 geth
钱包默认是连接到下面地址。
IPC endpoint opened: /Users/neo/Library/Ethereum/geth.ipc
连接到其他ipc地址
"/Applications/Ethereum Wallet.app/Contents/MacOS/Ethereum Wallet" --rpc /Users/other/Library/Ethereum/geth.ipc
在 Ethereum Wallet 启动期间,随时可以进入Javascript控制台。
neo@MacBook-Pro ~/Library/Ethereum/geth % geth attach
Welcome to the Geth JavaScript console!

instance: Geth/v1.8.1-stable-1e67410e/darwin-amd64/go1.9.4
 modules: admin:1.0 debug:1.0 eth:1.0 net:1.0 personal:1.0 rpc:1.0 txpool:1.0 web3:1.0

> eth.accounts
["0xb94054c174995ae2a9e7fcf6c7924635fba8ecf7", "0xf56b81a2bcb964d2806071e9be4289a5559bb0fa", "0x997e5ca600e19447d0b82afbf9c7f00de2b39b16"]
>
/Users/neo/Library/Application Support/Ethereum Wallet/binaries/Geth/unpacked/geth --syncmode light --cache 1024
/Users/neo/Library/Application Support/Ethereum Wallet/binaries/Geth/unpacked/geth --testnet --syncmode light --cache 1024 --ipcpath /Users/neo/Library/Ethereum/geth.ipc
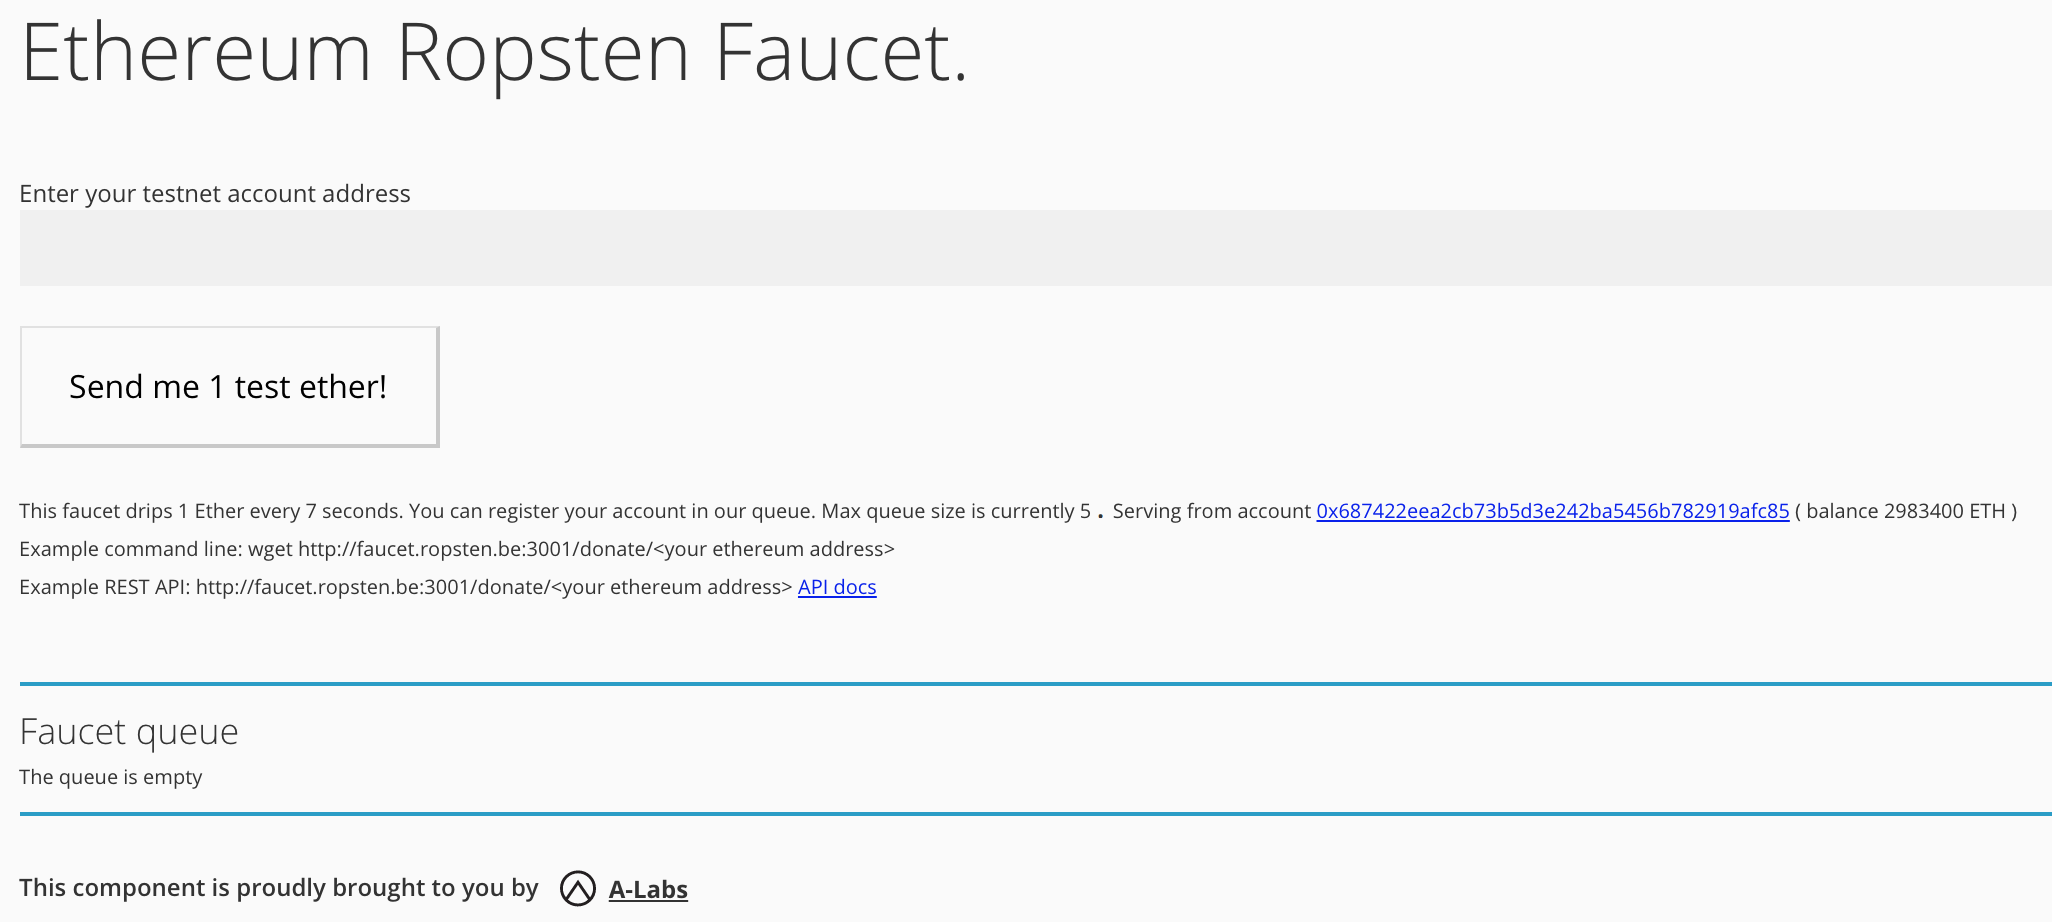 |
输入账号然后点击 “Send me 1 test ether” 按钮
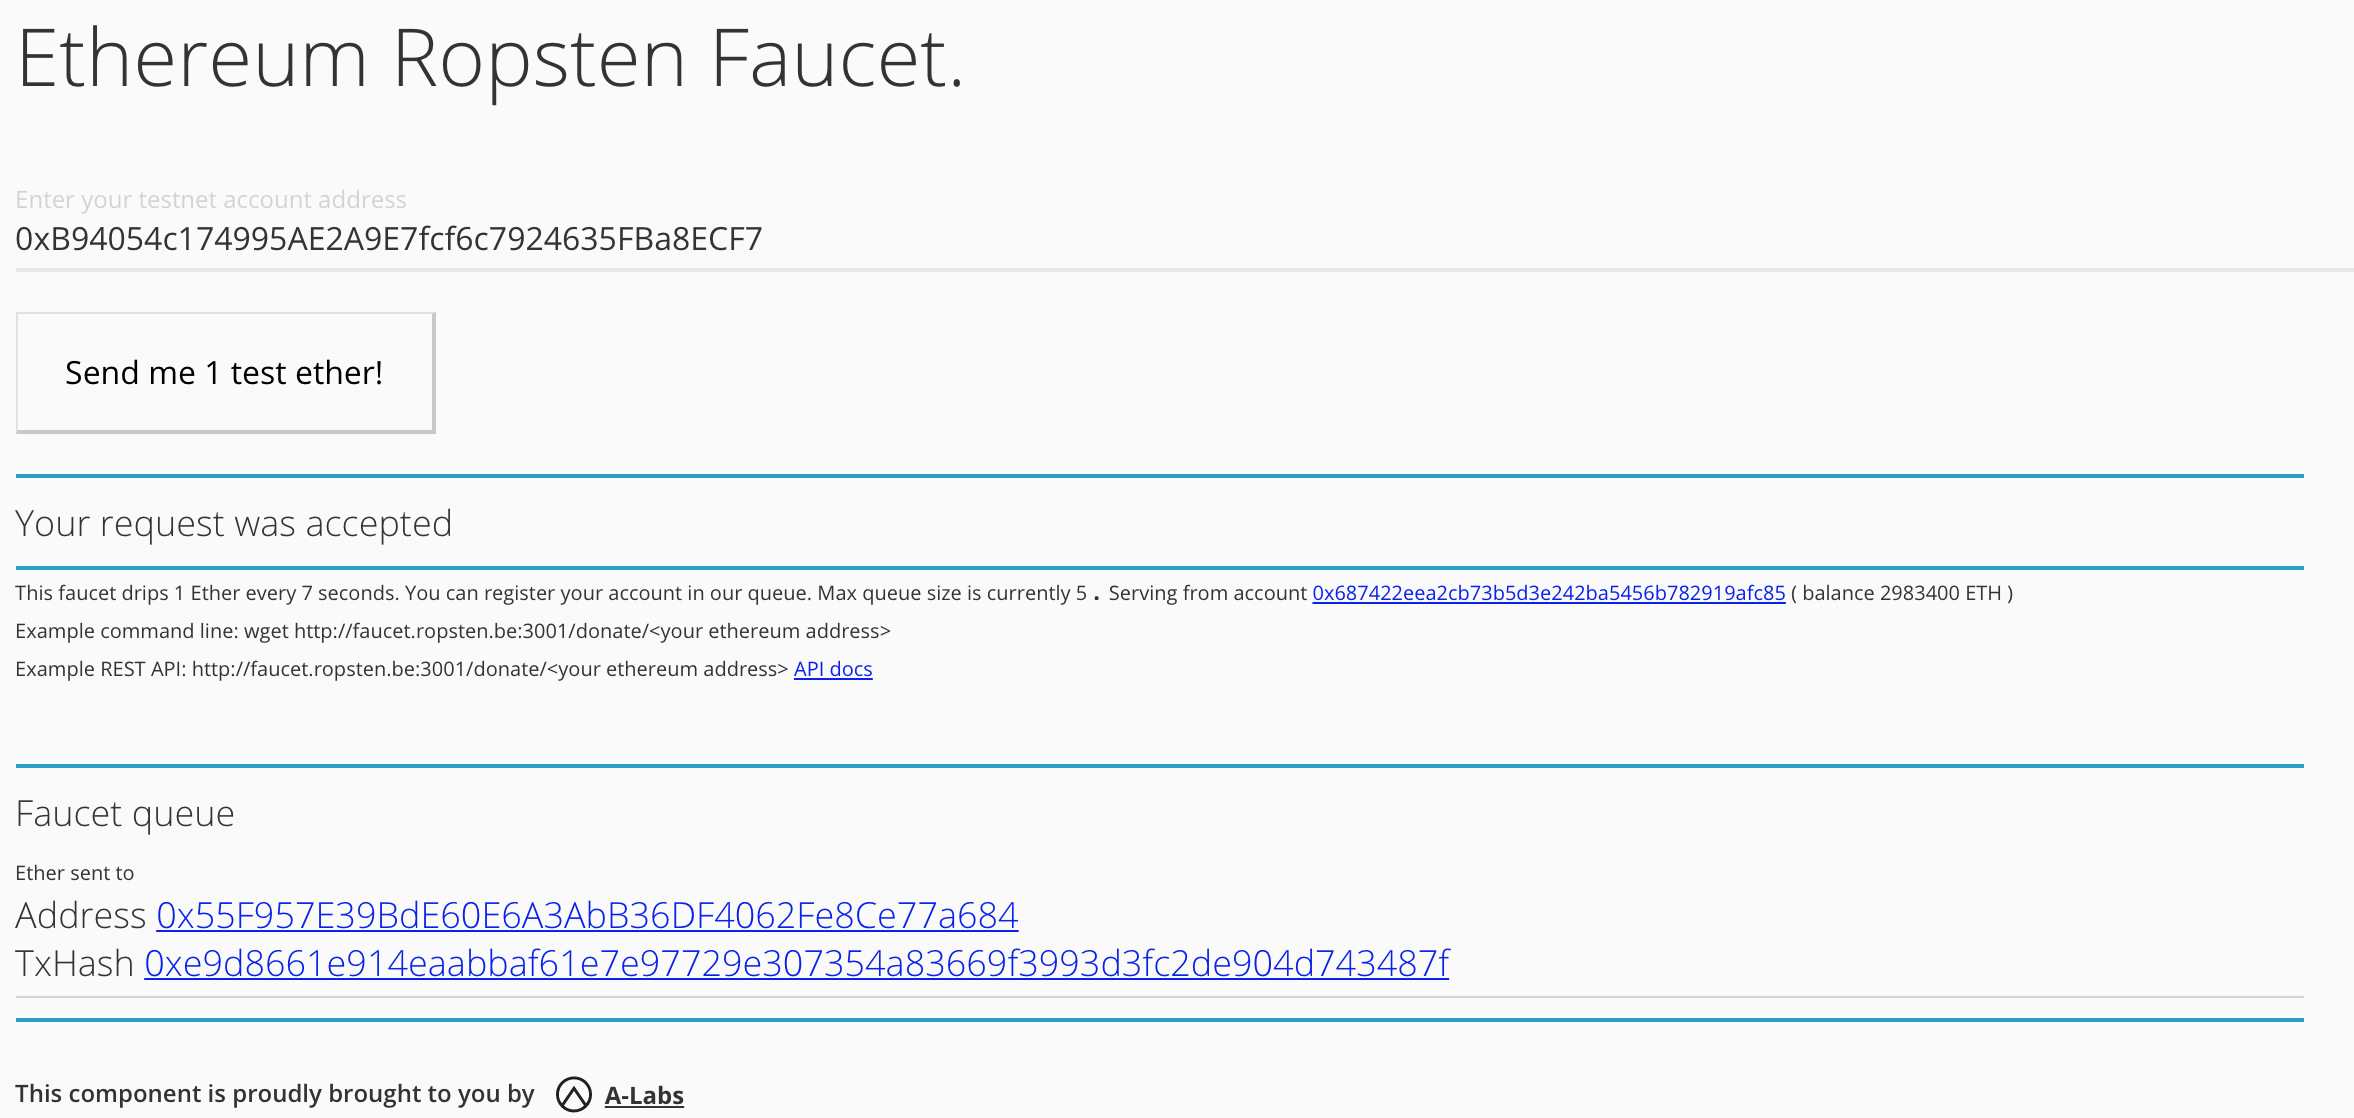 |
当现实 “Your request was accepted” 时,表示你的请求已经接受,接下来耐心等待。
连接测试网络,启动 "Ethereum Wallet",主菜单-Develop-Network,选择 "Rinkeby - Test network"。
如果这个菜单是灰色的,可以你在本地运行过 geth,解决方法如下:
mkdir ~/ethereum/rinkeby
geth --datadir ~/ethereum/rinkeby --rinkeby --rpc console
在另一个终端窗口执行
neo@MacBook-Pro ~/ethereum/rinkeby % "/Applications/Ethereum Wallet.app/Contents/MacOS/Ethereum Wallet" ~/ethereum/rinkeby/geth.ipc
或者使用TCP方式连接
"/Applications/Ethereum Wallet.app/Contents/MacOS/Ethereum Wallet" --rpc http://localhost:8545
如果你没有安装 geth,可以使用下面的方法
neo@MacBook-Pro ~/ethereum/truffle % "/Users/neo/Library/Application Support/Ethereum Wallet/binaries/Geth/unpacked/geth" --rinkeby --syncmode light --cache 1024 --ipcpath /Users/neo/Library/Ethereum/geth.ipc
INFO [02-22|11:43:23] Maximum peer count                       ETH=0 LES=100 total=25
INFO [02-22|11:43:23] Starting peer-to-peer node               instance=Geth/v1.8.1-stable-1e67410e/darwin-amd64/go1.9.4
INFO [02-22|11:43:23] Allocated cache and file handles         database=/Users/neo/Library/Ethereum/rinkeby/geth/lightchaindata cache=768 handles=128
INFO [02-22|11:43:27] Persisted trie from memory database      nodes=355 size=65.27kB time=399.41µs gcnodes=0 gcsize=0.00B gctime=0s livenodes=1 livesize=0.00B
INFO [02-22|11:43:27] Initialised chain configuration          config="{ChainID: 4 Homestead: 1 DAO: <nil> DAOSupport: true EIP150: 2 EIP155: 3 EIP158: 3 Byzantium: 1035301 Engine: clique}"
INFO [02-22|11:43:27] Loaded most recent local header          number=1813389 hash=d58d6b…a489d9 td=3366103
INFO [02-22|11:43:27] Starting P2P networking
INFO [02-22|11:43:29] UDP listener up                          net=enode://e84fbdb5d1b75d18fe45fdd13fdad9d5a8ff6d54b82cc8383525870054b91108010ccf8776ac8a50146c9abf9d43c0117af2bbe0cc2668874d269c3817dec47e@[::]:30303
WARN [02-22|11:43:29] Light client mode is an experimental feature
INFO [02-22|11:43:29] RLPx listener up                         self="enode://e84fbdb5d1b75d18fe45fdd13fdad9d5a8ff6d54b82cc8383525870054b91108010ccf8776ac8a50146c9abf9d43c0117af2bbe0cc2668874d269c3817dec47e@[::]:30303?discport=0"
INFO [02-22|11:43:29] IPC endpoint opened                      url=/Users/neo/Library/Ethereum/geth.ipc
INFO [02-22|11:43:30] Mapped network port                      proto=udp extport=30303 intport=30303 interface="UPNP IGDv1-IP1"
INFO [02-22|11:43:31] Mapped network port                      proto=tcp extport=30303 intport=30303 interface="UPNP IGDv1-IP1"
INFO [02-22|11:43:32] Block synchronisation started
INFO [02-22|11:43:33] Imported new block headers               count=13 elapsed=245.507ms number=1813402 hash=08317c…fd1806 ignored=0
INFO [02-22|11:43:48] Imported new block headers               count=1  elapsed=898.705µs number=1813403 hash=8a7c1b…5e1652 ignored=0
INFO [02-22|11:44:03] Imported new block headers               count=1  elapsed=892.924µs number=1813404 hash=511a30…561d32 ignored=0
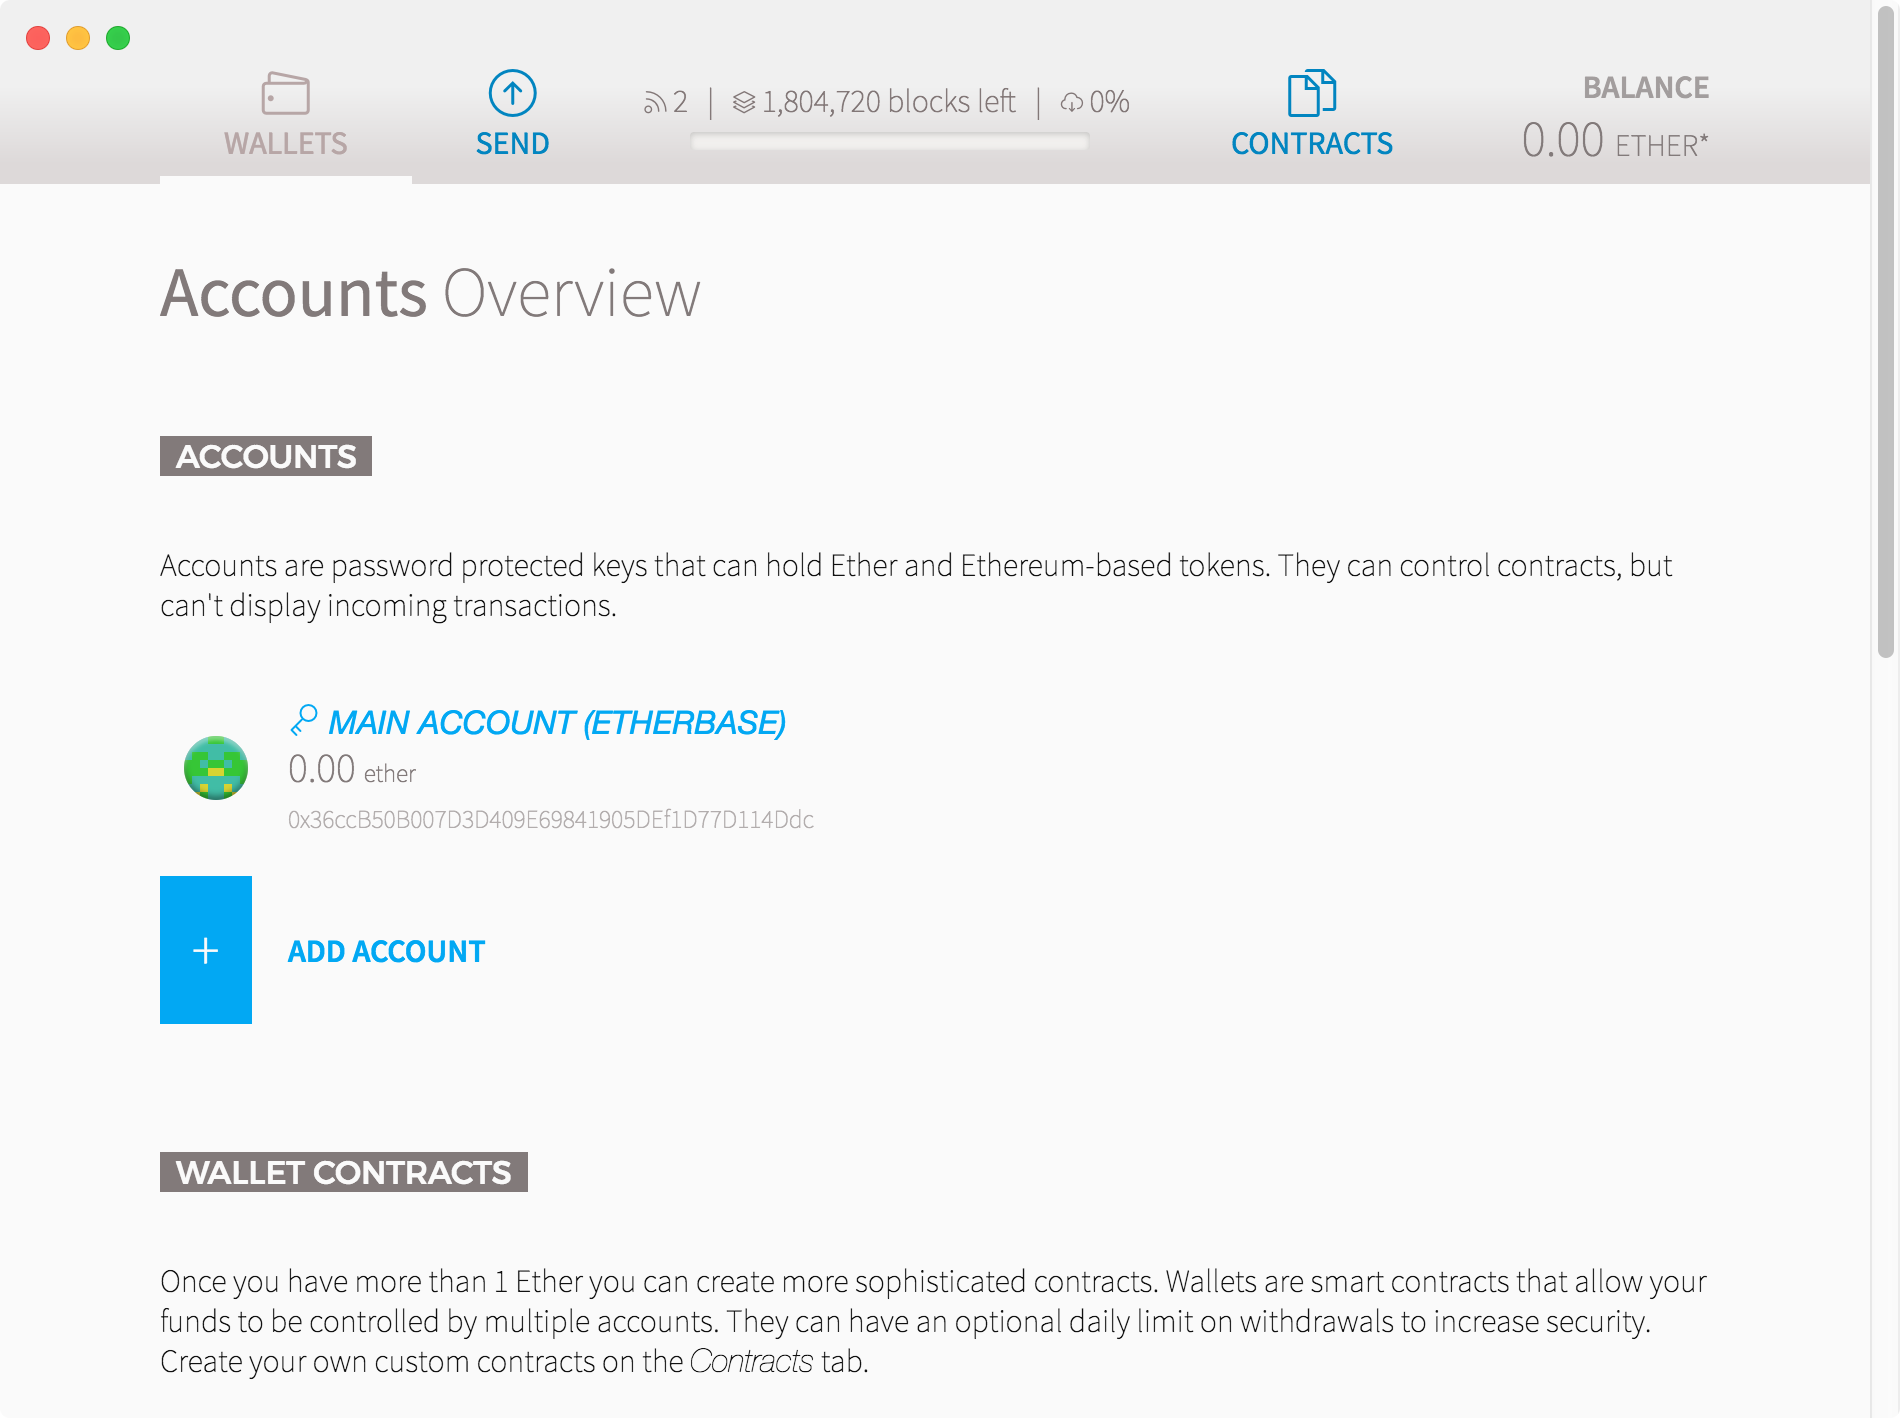
然后正常启动钱包程序 Launchpad - Ethereum Wallet
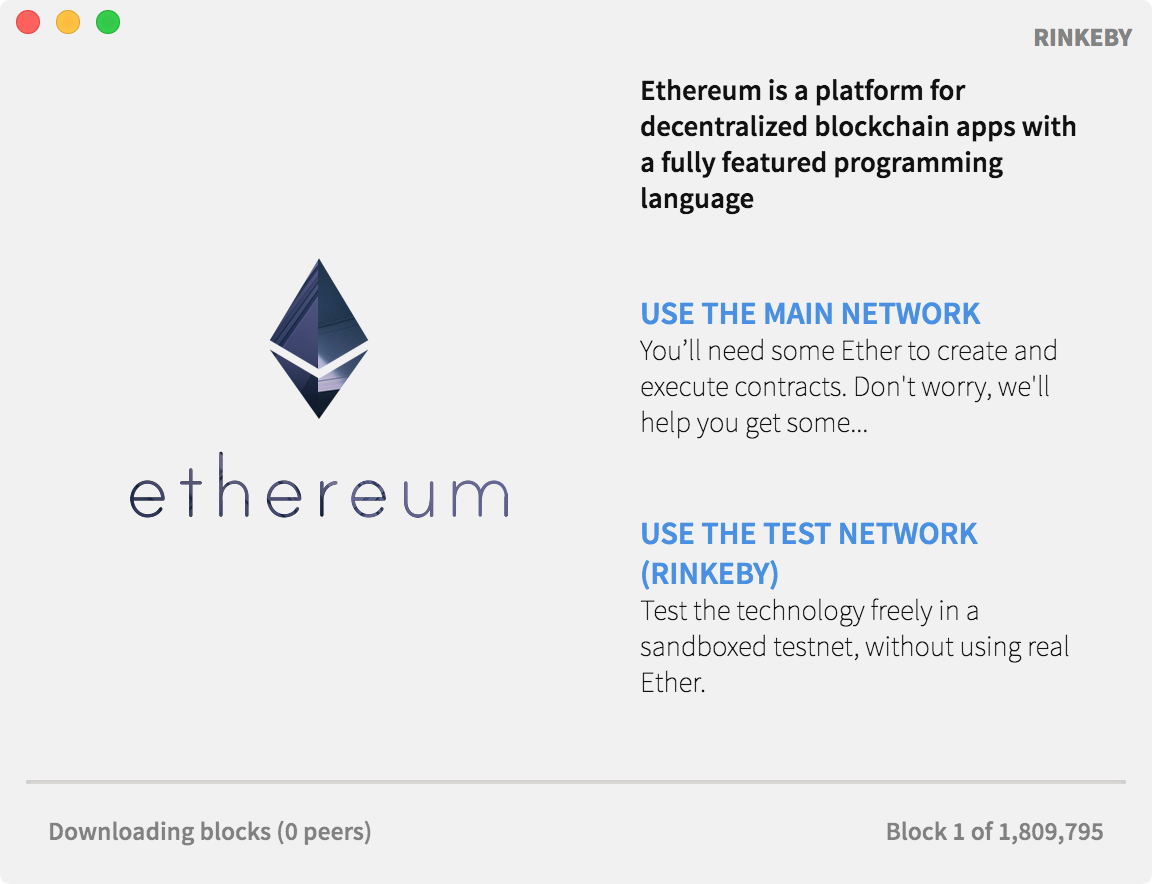
启动过程比较缓慢,启动后会同步区块信息
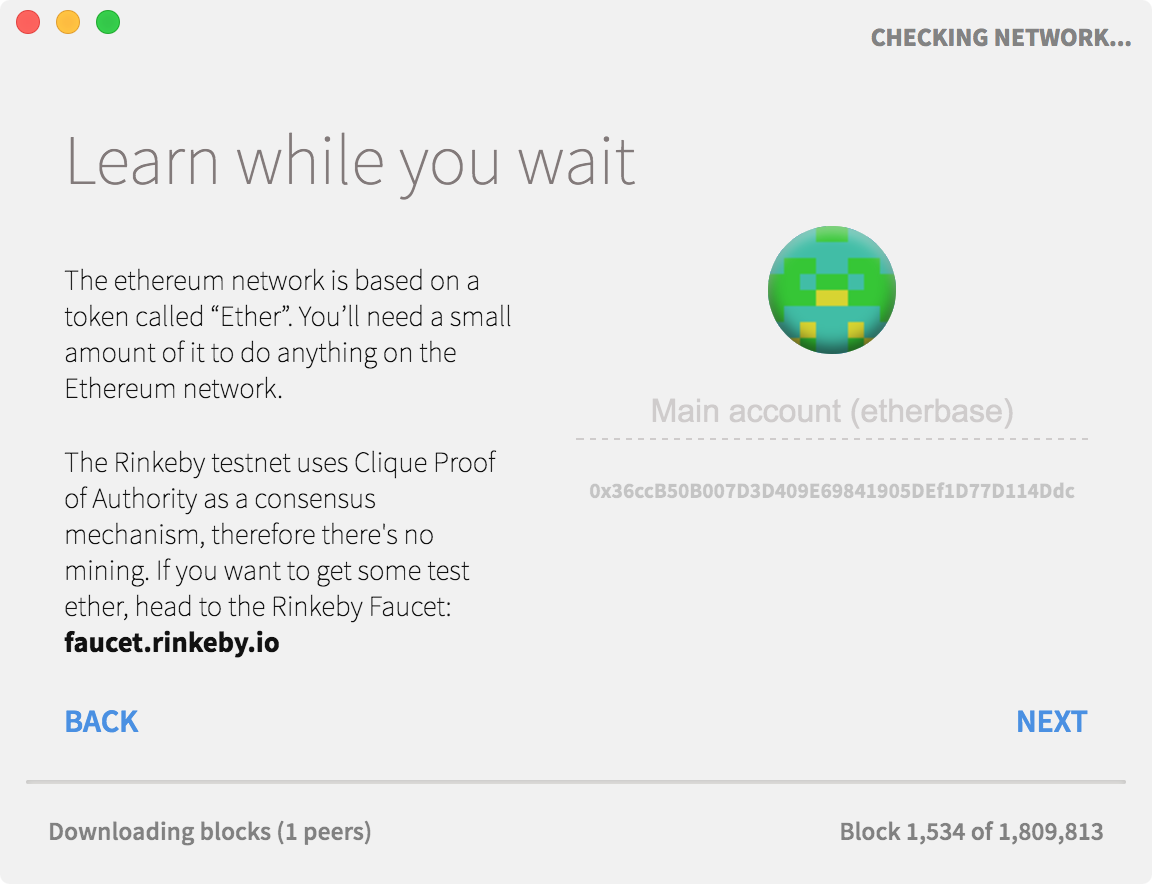
弹出第一个界面,让你选择网络,这里选择 Rinkeby 测试网络
 |
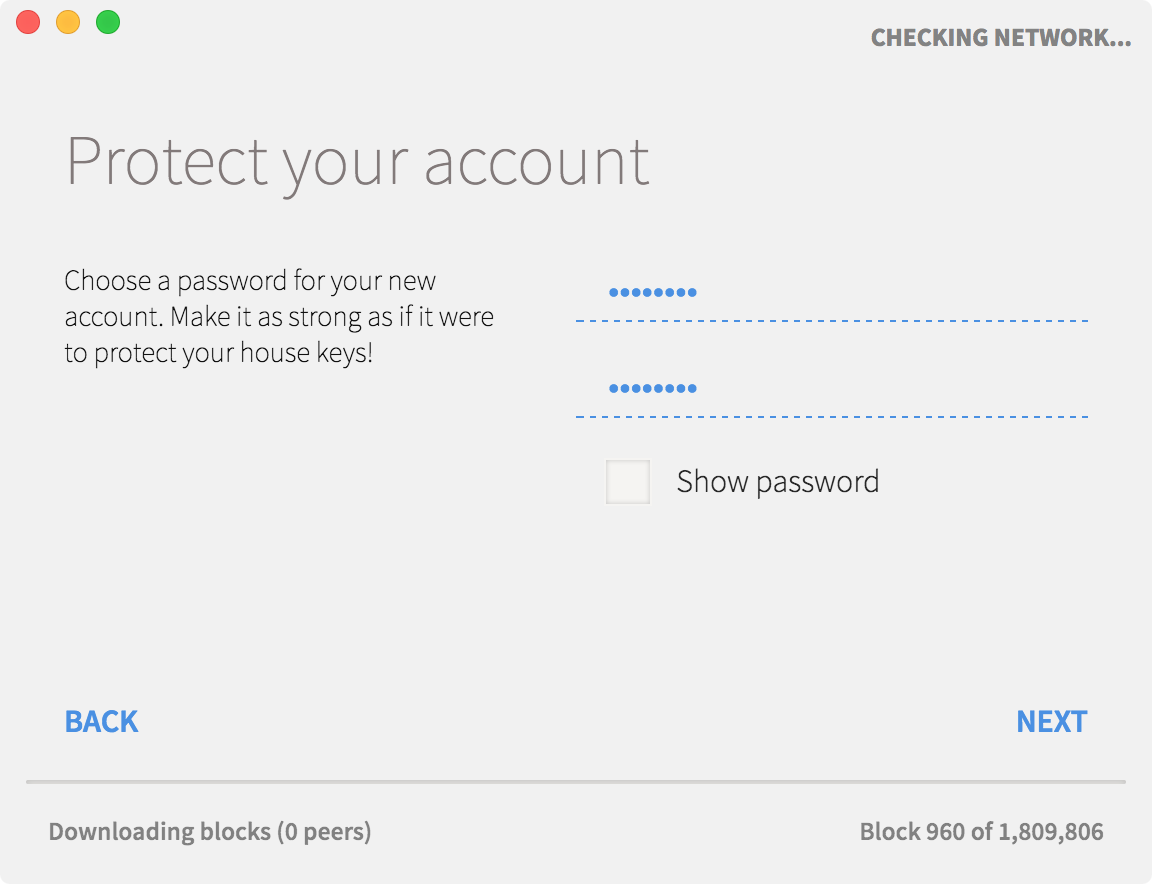
输入密码,要求八位字母和数字组合
 |
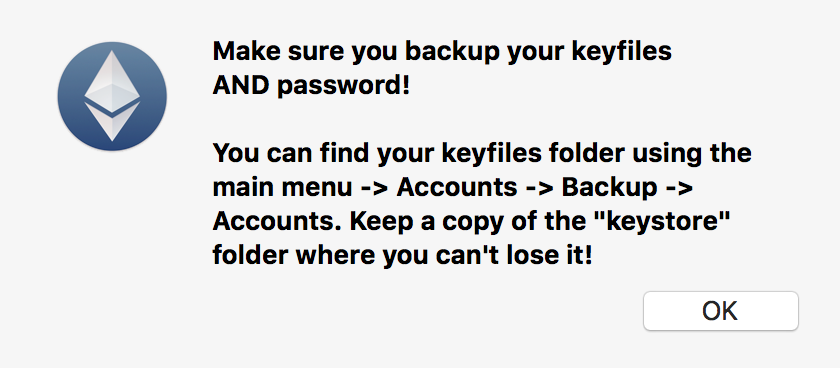
提示你备份钱包
 |
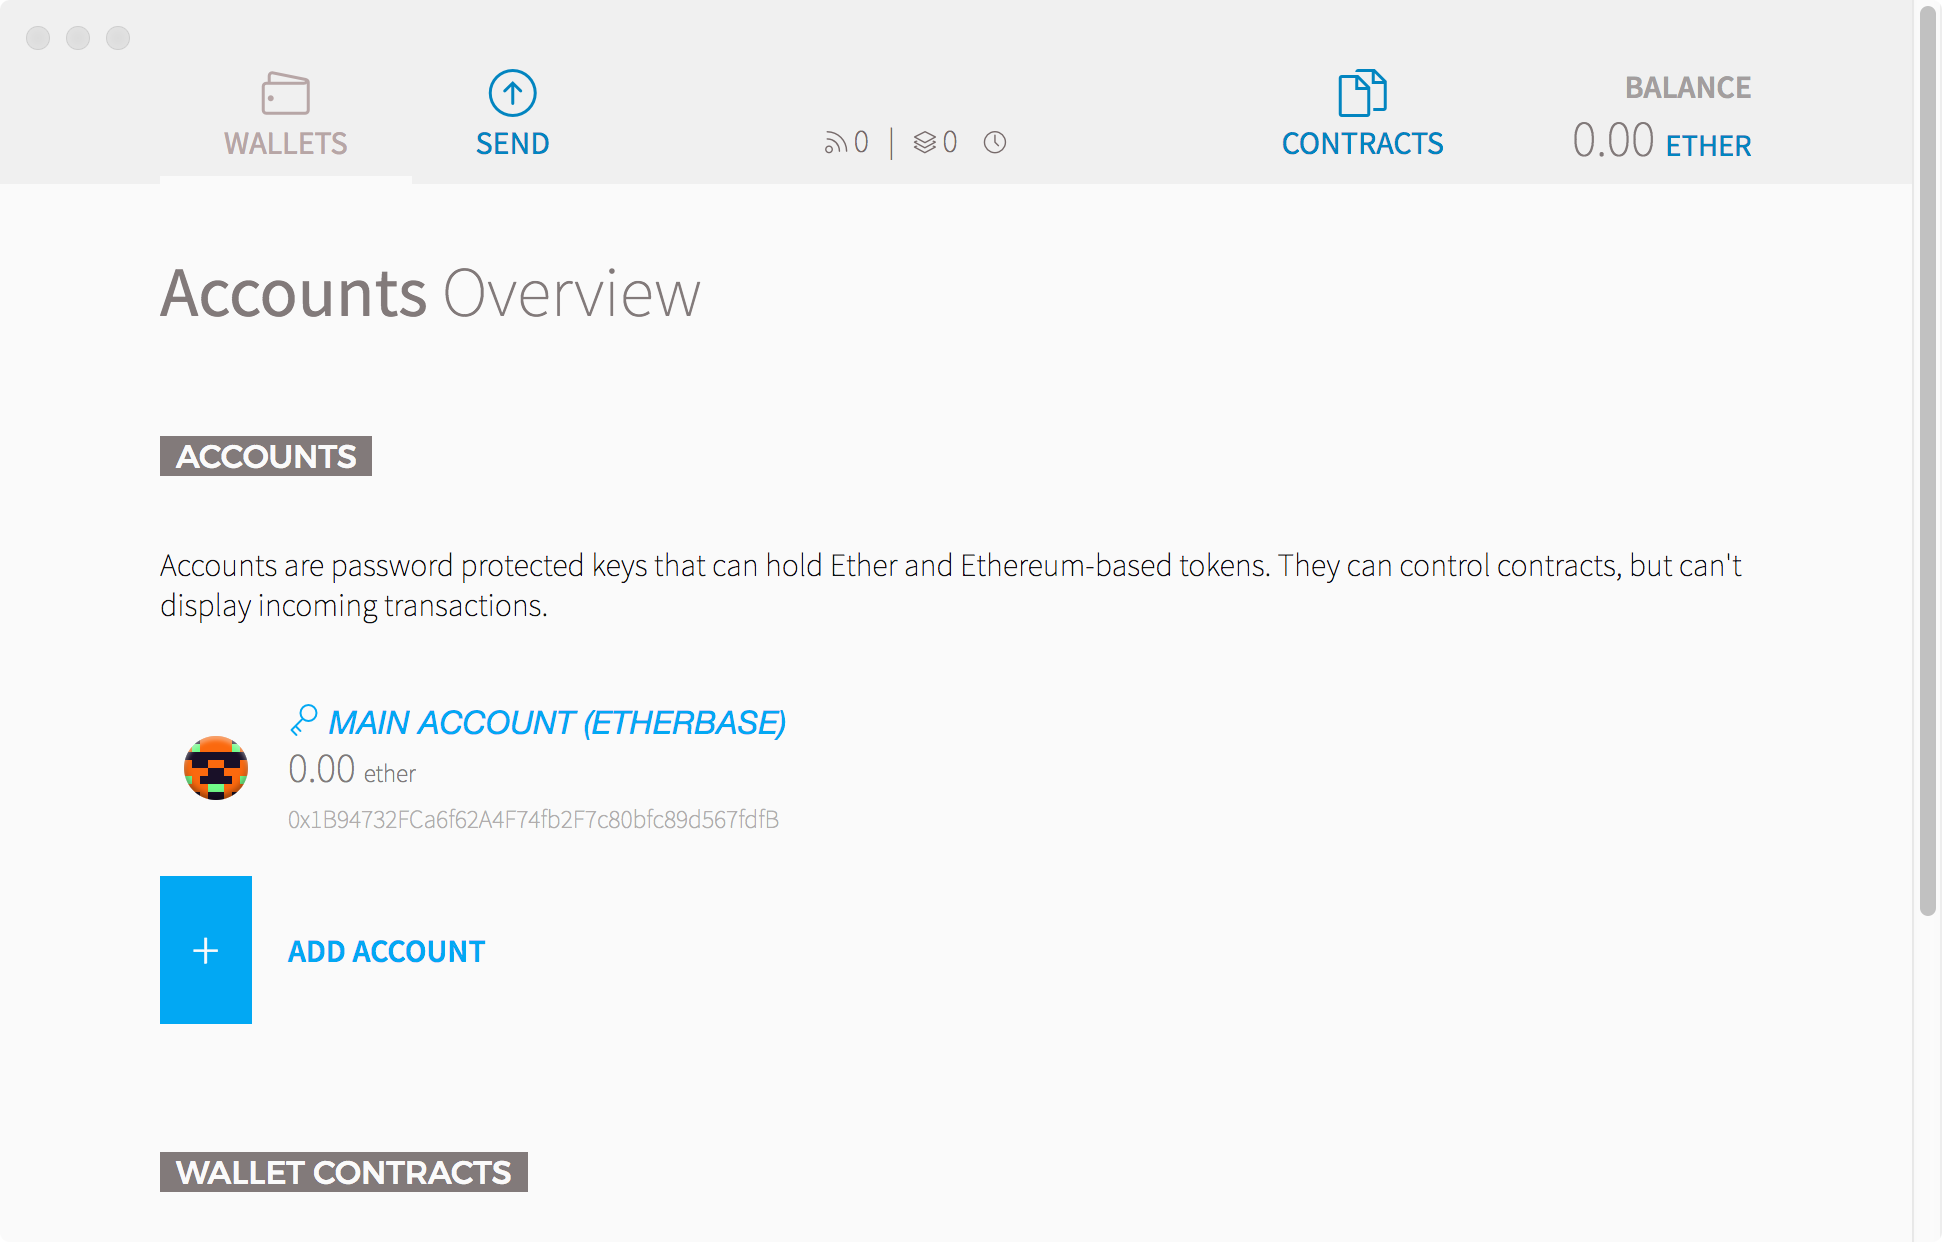
生成账号 0x36ccB50B007D3D409E69841905DEf1D77D114Ddc
 |
这时你会看到右下角的数字不断地变化,表示正在同步区块信息。同步过程比较漫长,请耐心等待。
 |
想获取Rinkeby测试网络中的以太币,需要去申请,地址:
https://faucet.rinkeby.io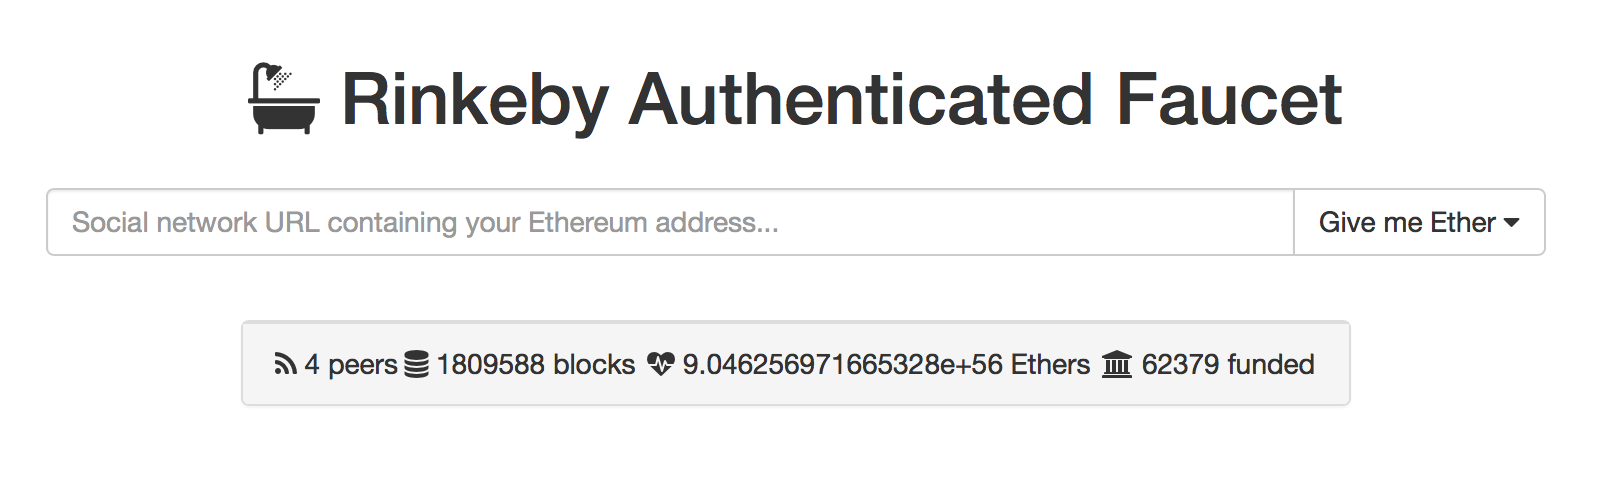 |
输入你的钱包地址,并点击“Give me Ether”,有三种选项,前面是获得的以太币数量,后面是冷却时间,在冷却时间过后才能进行下一次以太币申请。例如第一项是生成3个以太币,8小时后才能再次申请。
如果一切顺利,你会看到你的钱包地址已经多出了申请数量的以太币。
注意:如果申请的人数很多,需要排队等待
下载创世区块
mkdir ~/.rinkeby
cd ~/.rinkeby
wget https://www.rinkeby.io/rinkeby.json
初始化区块
geth --datadir=$HOME/.rinkeby init rinkeby.json
启动以太坊,这里采用Light node模式,仅仅下载区块信息,不会运行交易,速度比较快。
geth --networkid=4 --datadir=$HOME/.rinkeby --syncmode=light --ethstats='yournode:Respect my authoritah!@stats.rinkeby.io' --bootnodes=enode://a24ac7c5484ef4ed0c5eb2d36620ba4e4aa13b8c84684e1b4aab0cebea2ae45cb4d375b77eab56516d34bfbd3c1a833fc51296ff084b770b94fb9028c4d25ccf@52.169.42.101:30303
solo 实际上就是geth 的 --dev 参数
开发模式会创建一个账号,同时启动挖矿,ETH多的你用不完。
/Users/neo/Library/Application Support/Ethereum Wallet/binaries/Geth/unpacked/geth --dev --minerthreads 1 --ipcpath /Users/neo/Library/Ethereum/geth.ipc
"/Users/neo/Library/Application Support/Ethereum Wallet/binaries/Geth/unpacked/geth" --datadir=$HOME/ethereum/private init $HOME/ethereum/genesis.json
"/Users/neo/Library/Application Support/Ethereum Wallet/binaries/Geth/unpacked/geth" --networkid=4444 --datadir=$HOME/ethereum/private --ipcpath /Users/neo/Library/Ethereum/geth.ipc
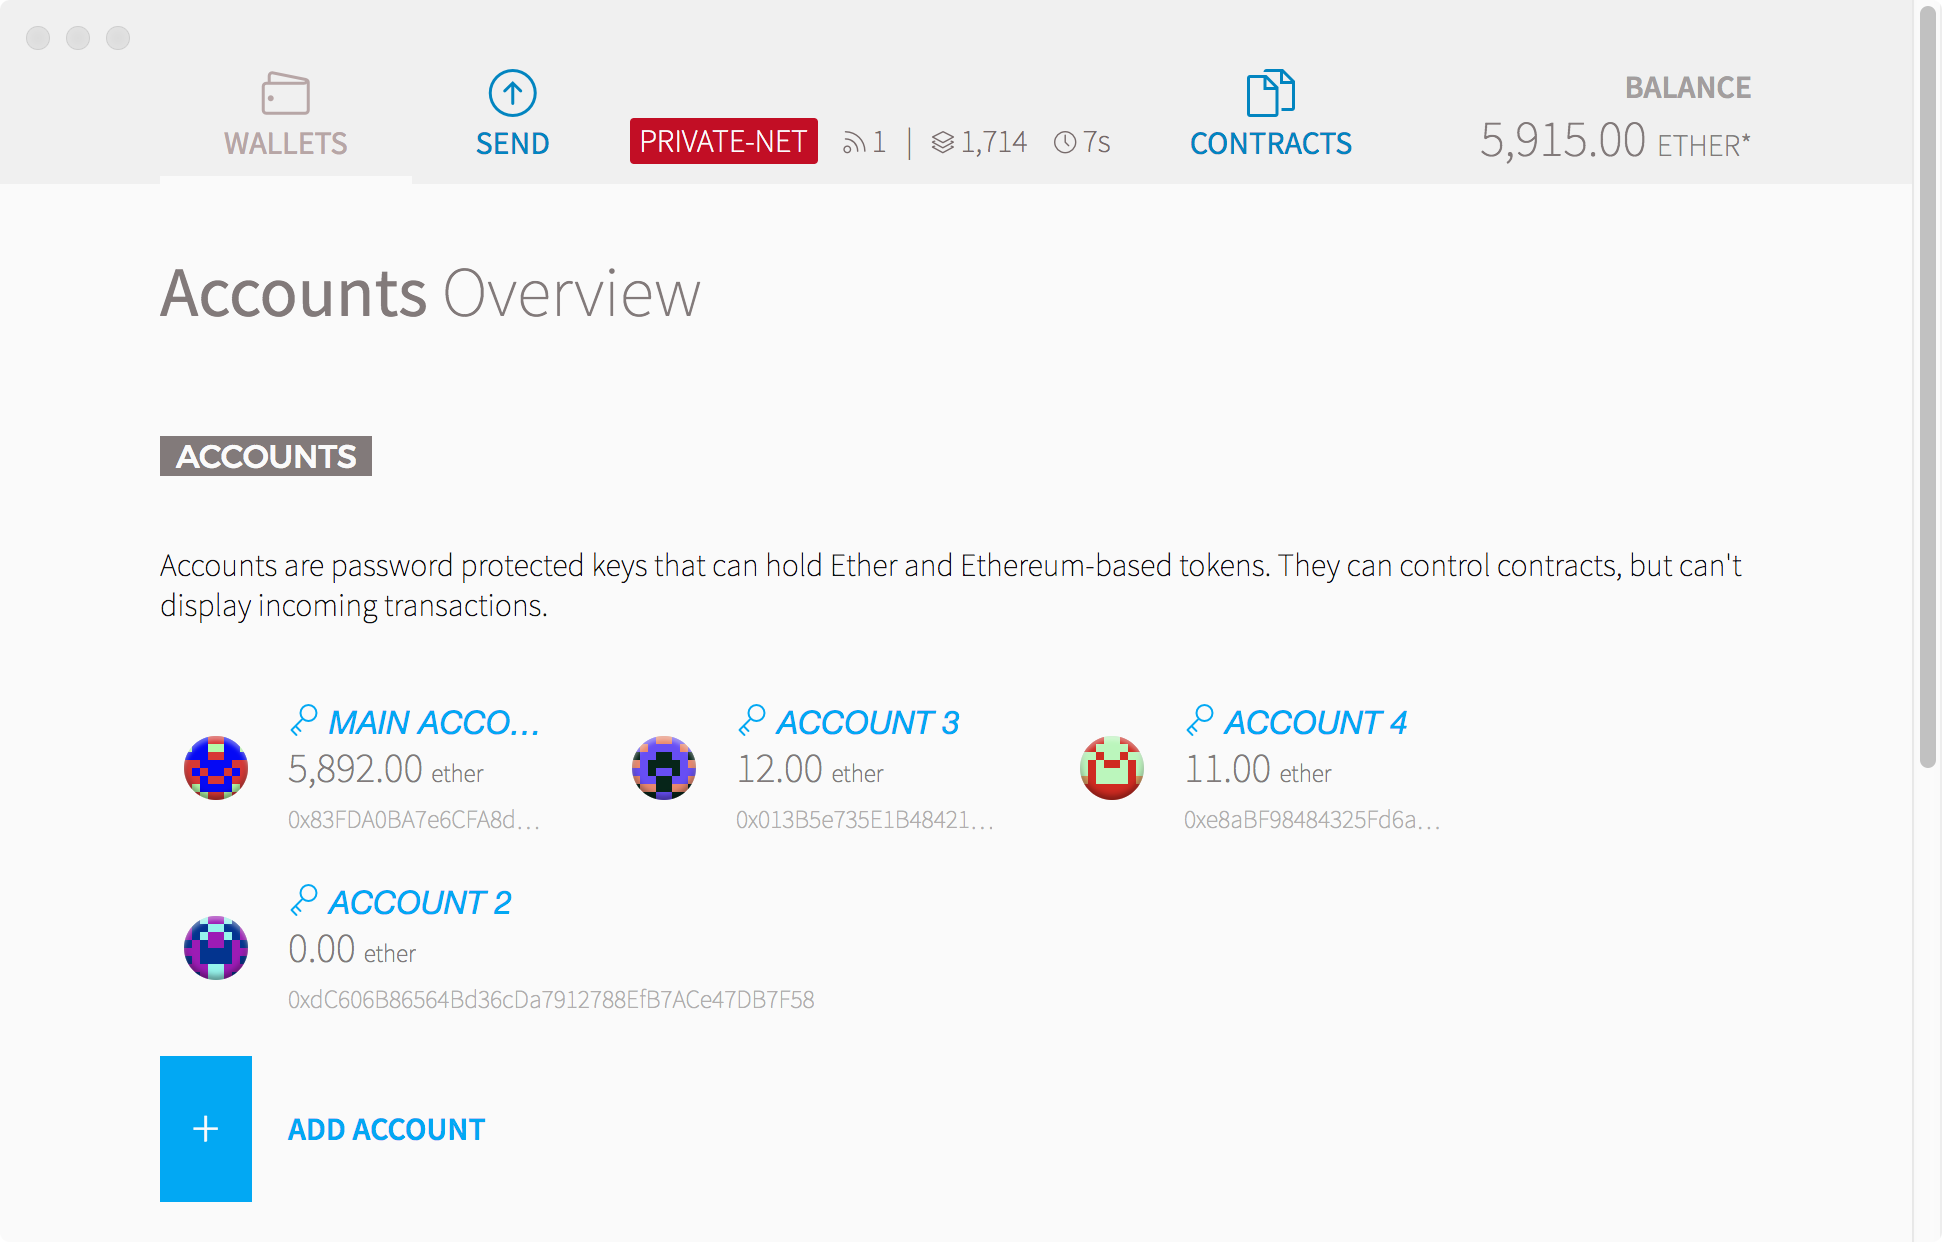
在 Ethereum Wallet 钱包上会显示所有自己创建或者Watch的合约,有些合约仅仅是测试用的,用过即废弃,合约列表依然会显示在那里,只是变成灰色并且无法选择
怎样把无用的合约从列表删除呢?
1. Ethereum Wallet上打开开发者工具(从窗口选择开发->切换开发工具->钱包界面,或者输入快捷键Alt+Ctrl+I),显示出控制台界面
2. 查询Watch Contract列表 - 在控制台输入命令: CustomContracts.find().fetch();
3. 在合约列表中找到需要删除的合约,并且复制ContractID
4. 删除合约,在控制台输入命令:CustomContracts.remove('<ContractID>')